
Badlands National Park ~ Darkroom Work-up 2007
/The drive through the Badlands was amazing. Everywhere we turned was another photograph!
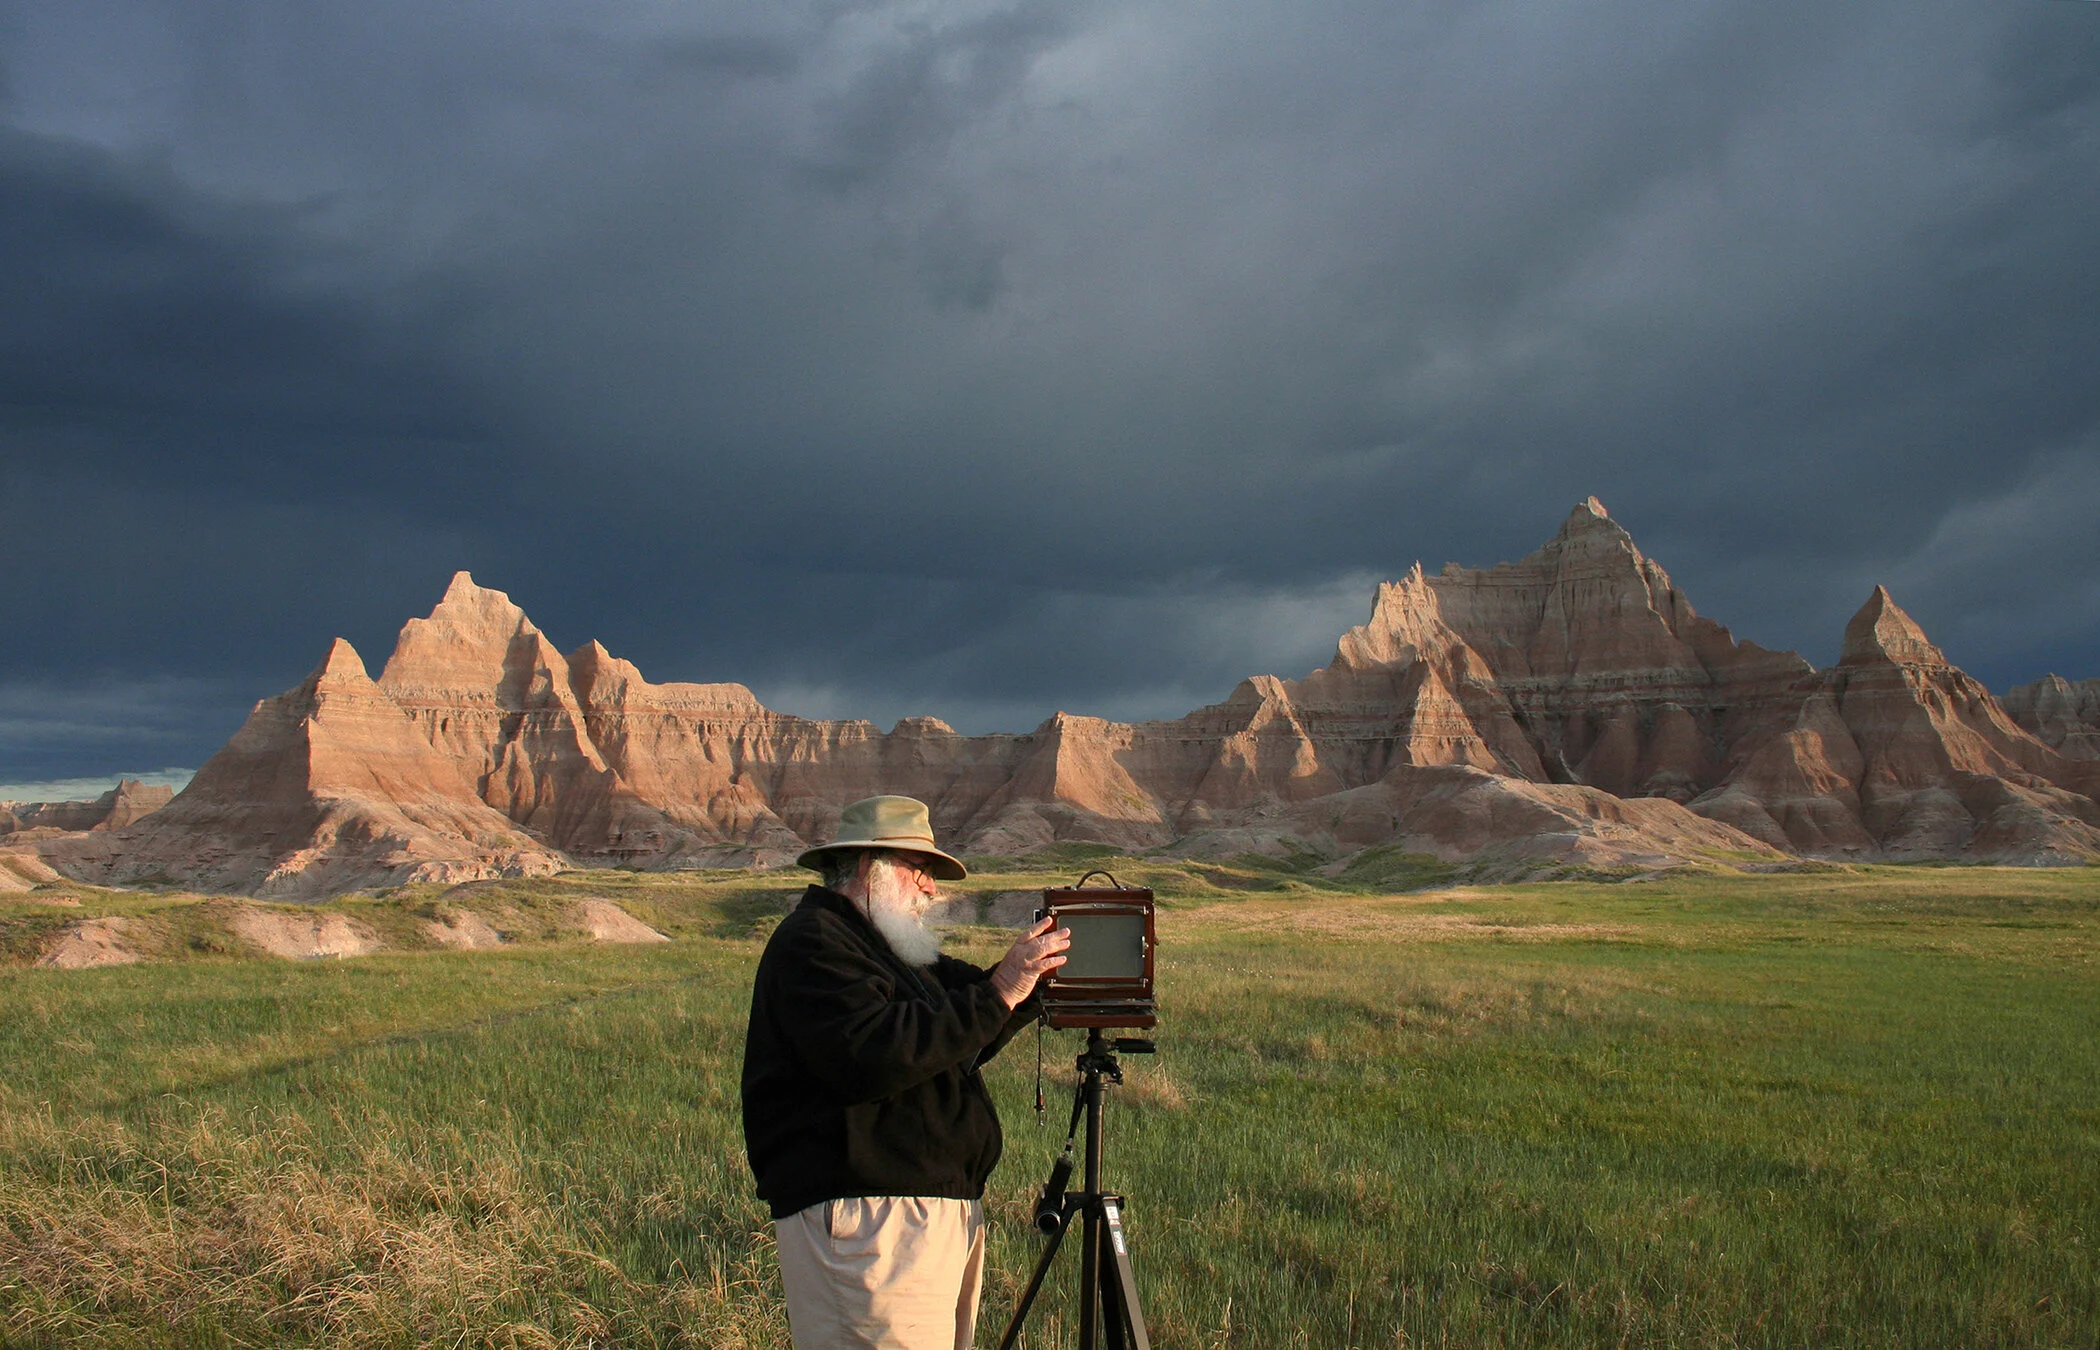
Clyde photographing Badlands

Badlands —-for sizes and pricing CLICK HERE

Driving into Badlands National Park
We were on our way to Glacier National Park, but along the way we came across the Badlands and decided to stop by and check it out. There were magnificent storm clouds overhead, and Clyde felt sure he could get some dynamic images.

Running from the rain
I think we are some of the very few people who take photography trips when we believe there's going to be bad weather!

Clyde took the first opportunity to capture a photograph - grabbed his camera and dashed up the hill. He managed to get a shot, then it began to rain. He grabbed the camera again and rushed for the car. We spent the day dashing from one great scene to another.
And yes, while Clyde is photographing I not only take pictures of him, I look for flowers. As dry and empty as the desert looked, there were hundreds of flowers scattered about. I could fill pages with them, but just settled on these two.

Yellow salsify

Wavyleaf thistle-grass

The scenes rapidly changed: the clouds would change, the light would change, the density would change, and it was all happening very fast. Every time we turned around, there was another great photograph. The next day we heard that tornado had touched down near Wall Drug! No wonder we had such a fantastic sky!


We didn’t stay long enough to get a grasp of the geology. I would love to return to learn more about the way the environment was created. However, to me the hills and mountains looked like large piles of mud. Because of the rain, our shoes were always caked in mud. It was amazing to see life making its way through the cracked mud surface of the environment. Where there’s life, there’s a will.
By late afternoon the sun was covered with clouds so we made a reservation for a Park cottage, then headed to Wall Drugs to find something to eat. If you're ever in that area, don't miss Wall Drugs. Truly an amazing place way out there in the middle of nowhere!

Niki riding the local famous Jackalope…yippee!!

Our home sweet home in the Badlands National Park

Clyde doesn’t look to happy with his new girlfriend! :)
During the northern summer, the sun sets around 10:00 in the evening and rises around 5:00 in the morning. When we get in after the sun sets (and usually do), Clyde has to unload his film, clean his film holders, and load the new film. We rarely get to bed before midnight.

Setting up to capture the moment
Clyde is an early riser, so he woke up at 5:00 am and peeked out the window. The sky was covered with black clouds. We had been getting 4-5 hours of sleep a night for several weeks, so he told me to go back to sleep. He laid there for a few minutes and said, "Let's get up. I think the sun will break through the clouds." Just as we got into the car, the eastern horizon opened up, and the sun began to break through a slit in the clouds, then showed its brilliance on the pinnacles across the street from the welcome center. We rapidly set up Clyde's camera equipment, and he managed to get off a couple of shots before the sun was obliterated with clouds.

Badlands 1
We spent the rest of the morning photographing as the sun came and went, filtering light through the clouds. The storm finally passed, and we left, heading for Glacier National Park.
Those two days were amazing. Clyde said he remembers he took something like 24 large format camera photographs in 24 hours. Usually, he is lucky to get three shots in one day.
Needless to say, I could post many images here. However, I have chosen only to post Badlands 1, because seeing the negative and the resulting photograph is fascinating.
for more information about the Badlands CLICK HERE
Below I have created a darkroom work-up on the Badlands 1 image for you to view.
WET DARKROOM WORK-UP
Creating the Photograph
5x7” Deardorf View Camera 72 Snyder Super Angulon SL Lens
Orange Filter T-Max 100 film F/45 3 second exposure

Negative for Badlands 1
All darkroom work, or photoshop, is a creative expression to make the photographs we've taken reflect the feelings we had when we were there. To create a photograph that reflects our emotions means we each go about it in our own unique way.
This image was created in a wet darkroom; however, its creation somewhat resembles a photoshop technique. Both the darkroom and photoshop use burning and dodging. Burning is making the print darker, and dodging is making the print lighter. The difference is that when dodging or burning in the darkroom, Clyde can use his hands to create shapes when working on a specific area. He can also create a dodging tool in the shape he needs. The big difference between photoshop and the wet darkroom is that he has to work on the whole image in the darkroom and make several tests before he gets a final. Whereas, in photoshop, if you don't like the way a gradient looks, you can simply remove the layer and start again.

Step 1
STEP 1
The first test is to try and make a basic print exposure that will at least get you close to a workable image. That simple first test may take several tests before the basic exposure is what you want.

Step 2
STEP 2
The second step is to realize where you want to go from there. Clyde remembered the dynamics of this scene and knew he needed more contrast.
Clyde uses Ilford Multigrade glossy fiber paper. The paper is sensitive to two different colors. For low contrast, the paper is sensitive to green. For high contrast, the paper is sensitive to blue. Therefore, all of his enlargers have green and blue colored lights in them.
In this instance, he adjusted the contrast by using more blue light. Of course, the question is, how much blue light? Well, that takes several tests to find out.

Step 3
STEP 3
After adjusting the contrast, so it didn't blow out the highlights, he needed to look at the final step 2 image and determine what was needed next. In this case, he decided the picture needed increased exposure. Once again, how much? It took several tests before he was comfortable with the degree of increase.

Step 4
STEP 4
Clyde looked at the final test of step 3 and felt that the foreground was to light. He made a gradated burn on the foreground to darken it, making the mountains stand out more strongly.

Step 5
STEP 5
As he looked at the final test of step 4, he noticed that the mountain on the far right was dark and threw the whole composition off. He decided he needed to dodge that area of the mountain to lighten it.

Step 6
STEP 6
As he looked at the final step 5, he thought back and remembered the sky's drama. He realized the atmosphere needed to be darker with more contrast. He burnt the sky.

FINAL - Badlands 1
As you read the printing process, each step required a judgment based only on how Clyde felt about the print. A different personality might have entirely different ideas of how they would create the image. Clyde says that 50% of taking a good photograph is doing a good job out in the field. The other 50% is in creating the final image in the darkroom/photoshop.
For sizes and pricing CLICK HERE